KOHEN GADOL APRON
It is great to have Parshat Tetzaveh the same week as Purim since much of the Parsha is dedicated to the "costume" of the Kohen. I knew right away that I wanted to make some kind of Kohen Gadol costume with the girls this week. I didn't want it to be a full-blown costume since we already have their Purim costume to worry about! Of course, a Kohen Gadol would have made a great Purim costume but there were other plans already in place...
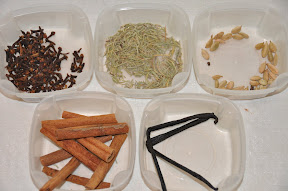
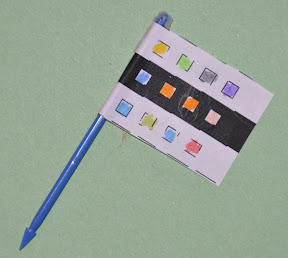
I decided that we would focus on the Choshen Mishpat which is the most colorful part of the Kohen's uniform since it was made up of twelve different jewels to represent the twelve tribes of Israel.
![]()
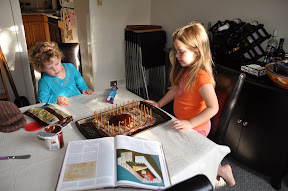
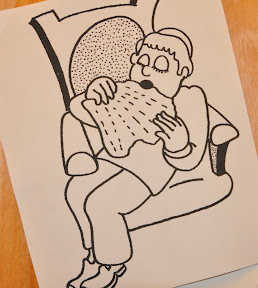
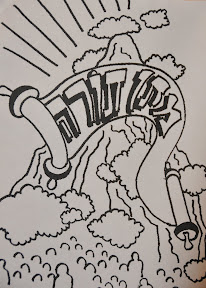
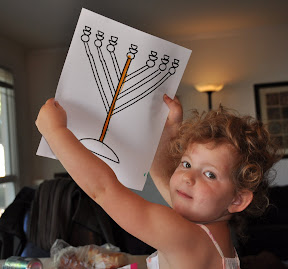
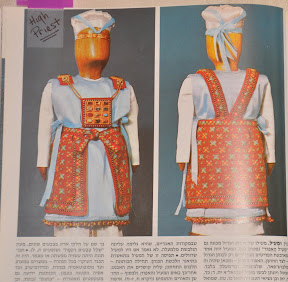
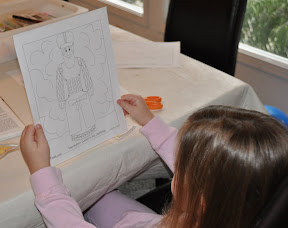
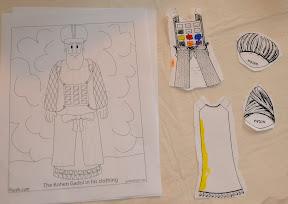
This project could have been made very simply using different color paper and it would have looked great. But, I knew that if we made it out of paper, it would end up in the trash at some point. I was inclined to make something that we could keep and actually use, like the welcome mat. So, instead we made aprons. This was actually an old idea of mine. Years ago, before we were married, I made Andy a Kohen Gadol apron. Andy happens to be a Kohen and a serious cook. So, back then (when I was still making him cute gifts), I decided to buy him a white apron and chef's hat. The two items reminded me of the hat and garb of the Kohen Gadol so I bought some puffy paints and painted a design of the choshen onto the apron. I added the words "BIG KAHUNA" since we have always wondered if this expression relates to the Kohen Gadol. Anyway, I decided that the girls could do basically the same thing for themselves. First, we looked at different illustrations of the Kohen's clothes.
![]()
![]()
![]()
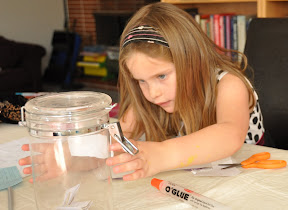
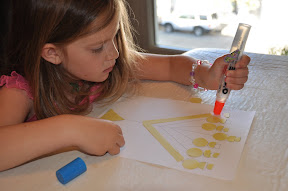
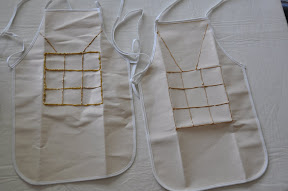
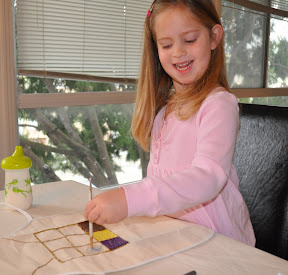
I bought plain child-sized aprons and puffy paints. I drew the outline of the Choshen for them in gold (as you can see from the photo, I accidentally made 9 squares instead of 12 at first which required some fixing later...)
![]()
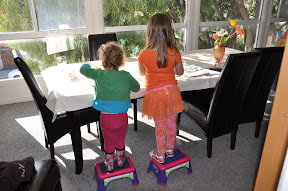
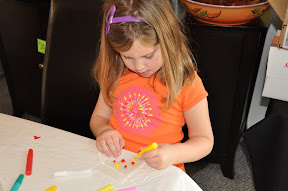
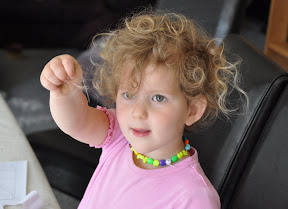
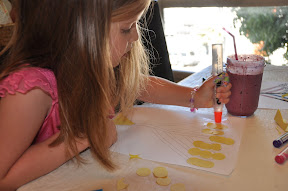
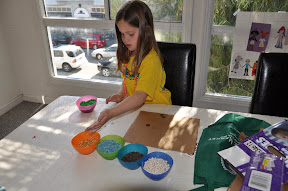
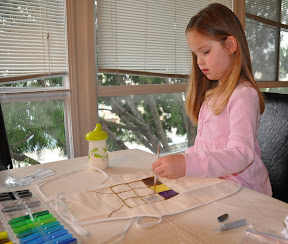
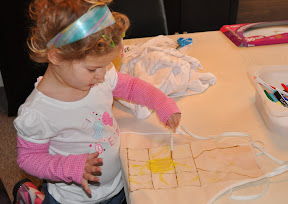
Then, I let the girls start painting. I let them choose whatever colors they wanted for the different squares.
![]()
![]()
![]()
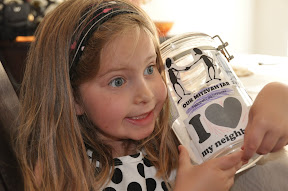
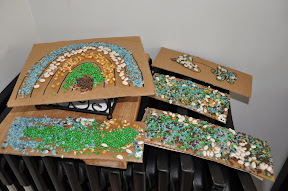
The results were super cute:
![]()
We even added jingle bells on to the bottom of the aprons. My hope is that these little aprons will actually get used in dress-up and play.
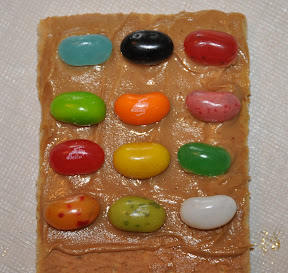
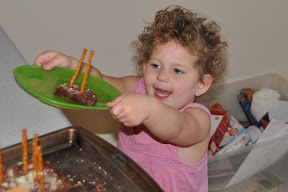
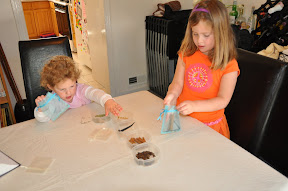
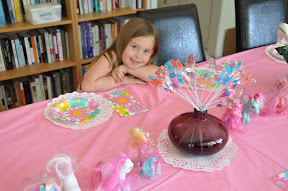
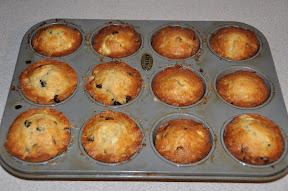
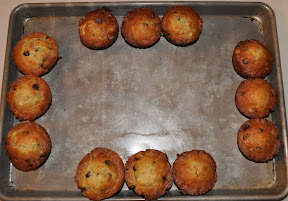
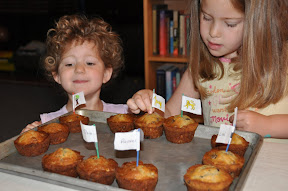
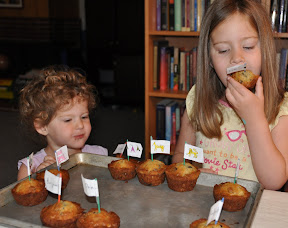
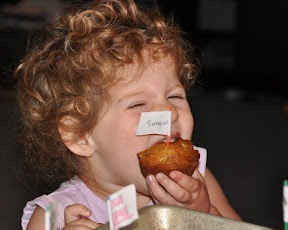
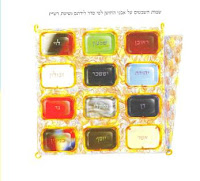
We had time to do a very fun and easy Parsha snack. Graham crackers, peanut butter, and jelly bellies make a great Choshen...
![]()
It is great to have Parshat Tetzaveh the same week as Purim since much of the Parsha is dedicated to the "costume" of the Kohen. I knew right away that I wanted to make some kind of Kohen Gadol costume with the girls this week. I didn't want it to be a full-blown costume since we already have their Purim costume to worry about! Of course, a Kohen Gadol would have made a great Purim costume but there were other plans already in place...
I decided that we would focus on the Choshen Mishpat which is the most colorful part of the Kohen's uniform since it was made up of twelve different jewels to represent the twelve tribes of Israel.
This project could have been made very simply using different color paper and it would have looked great. But, I knew that if we made it out of paper, it would end up in the trash at some point. I was inclined to make something that we could keep and actually use, like the welcome mat. So, instead we made aprons. This was actually an old idea of mine. Years ago, before we were married, I made Andy a Kohen Gadol apron. Andy happens to be a Kohen and a serious cook. So, back then (when I was still making him cute gifts), I decided to buy him a white apron and chef's hat. The two items reminded me of the hat and garb of the Kohen Gadol so I bought some puffy paints and painted a design of the choshen onto the apron. I added the words "BIG KAHUNA" since we have always wondered if this expression relates to the Kohen Gadol. Anyway, I decided that the girls could do basically the same thing for themselves. First, we looked at different illustrations of the Kohen's clothes.
I bought plain child-sized aprons and puffy paints. I drew the outline of the Choshen for them in gold (as you can see from the photo, I accidentally made 9 squares instead of 12 at first which required some fixing later...)
Then, I let the girls start painting. I let them choose whatever colors they wanted for the different squares.
The results were super cute:
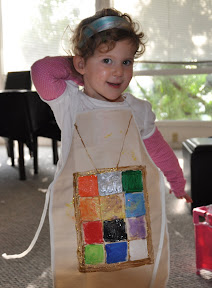
We even added jingle bells on to the bottom of the aprons. My hope is that these little aprons will actually get used in dress-up and play.
We had time to do a very fun and easy Parsha snack. Graham crackers, peanut butter, and jelly bellies make a great Choshen...